|
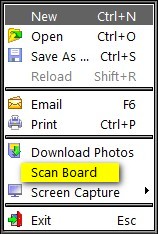
Current the only way I know to get to the FastStone Scan Board is from the menu under files:
Hopefully a future release of FastStone will have a keyboard shortcut to it. The Scan Board looks like this:
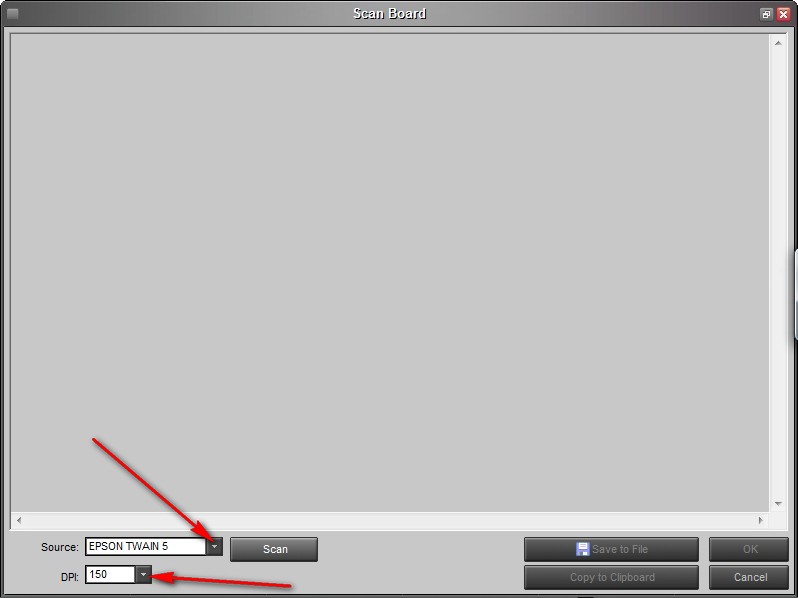
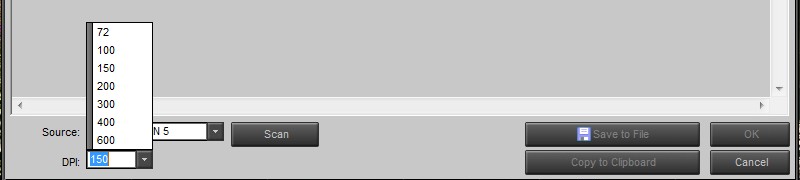
Update: Obviously the author of FastStone heard me, now the shortcut Cntl-B takes you to the Scan Board. The interface has also changed slightly, I need to post new screen shots. --Wren. First make sure the TWAIN interface to your scanner is selected. Then set the DPI for the scan, I typically use 300, 400 or 600 DPI.
If you need a different resolution, you can override this setting in your scanner's TWAIN interface. Put whatever you want to scan in your scanner and press the Scan button:
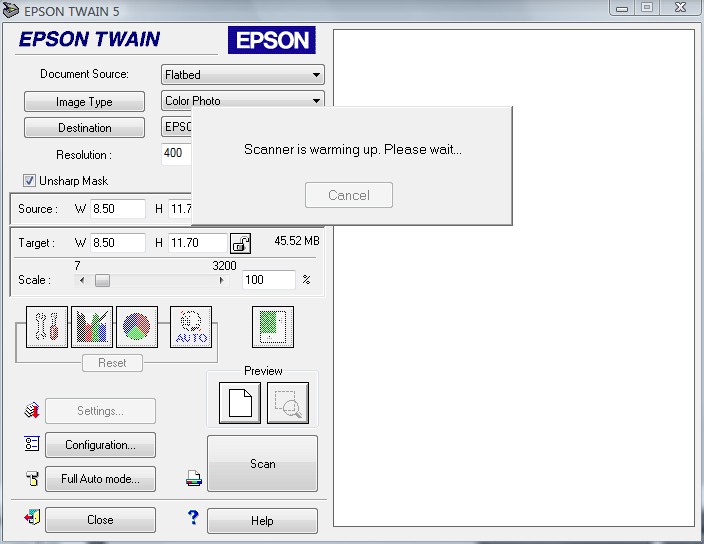
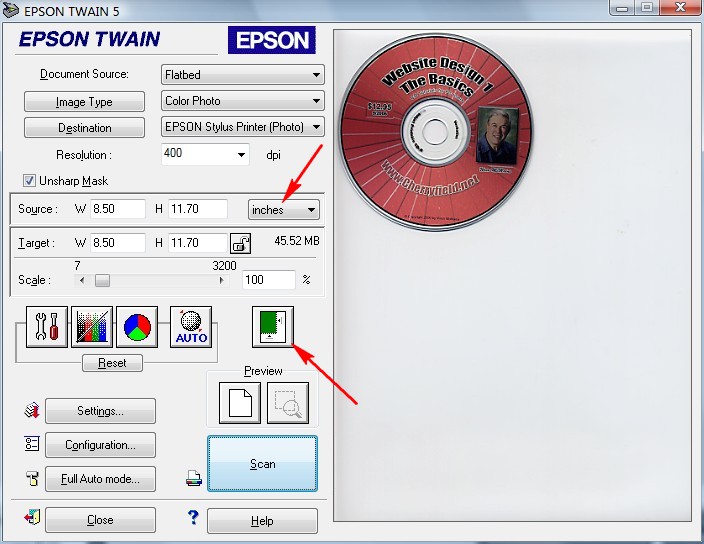
This will just warm-up your scanner and give you a preview of what you're going to scan, it doesn't actually scan the image. The next screen shots show what my scanner's TWAIN interface looks like. Yours is likely to be different. (If your TWAIN interface gives give you very few choices, I would recommend trying the "Advanced Mode" which most of them have.) These screens have nothing to do with FastStone, but it's important to see how they interact with FastStone: |
Sponsored Links:
Sponsored Links: |
Personally I like to work in pixels, because then I know exactly how big the resulting scan will be ... the biggest mistake people make is scanning old images at too low a resolution. They might look fine on your computer screen, but you want a much higher resolution image for digital archiving. Obviously if the image you're scanning is poor quality, scanning at a higher resolution won't help. I also press the auto-crop button (bottom arrow below) which usually works (if it doesn't set the area you want to scan manually):
Below you see that a scan of this CD will be about 1890 pixels square, or about 3.5 Mpix. Here are some round numbers to keep in the back of your head when scanning:
If you're scanning slides, I would try to end up with a 4-6 Mpix image if you can; most scanners can't do much better than that.
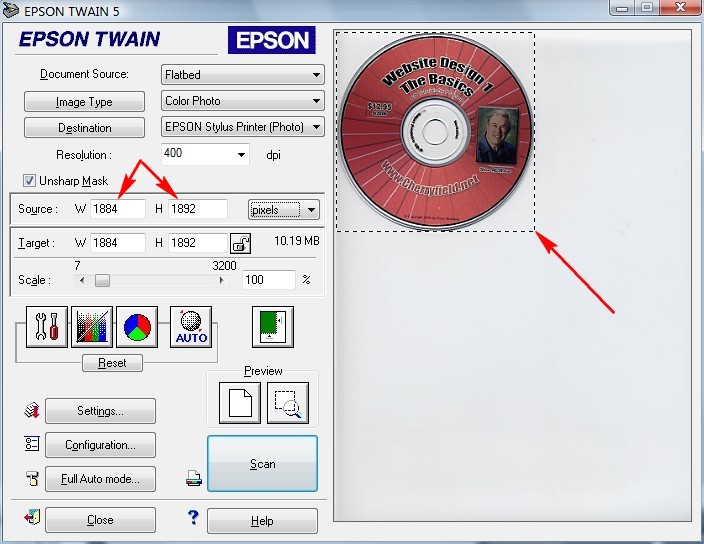
The interface above also allows you to scale the image, but I recommend against it. It's not improving the quality of the scan. If your scanner doesn't show you what the resulting image size will be in pixels, either find the advanced more or get a new scanner. ![]()
As you can also see, my scanner's TWAIN interface also has lots of other options, but they're unique to each scanner so we won't go into them here.
Once you press the Scan button (highlighted in blue above) on your TWAIN interface the scan actually starts:

Once complete, you're back in FastStone and will see:
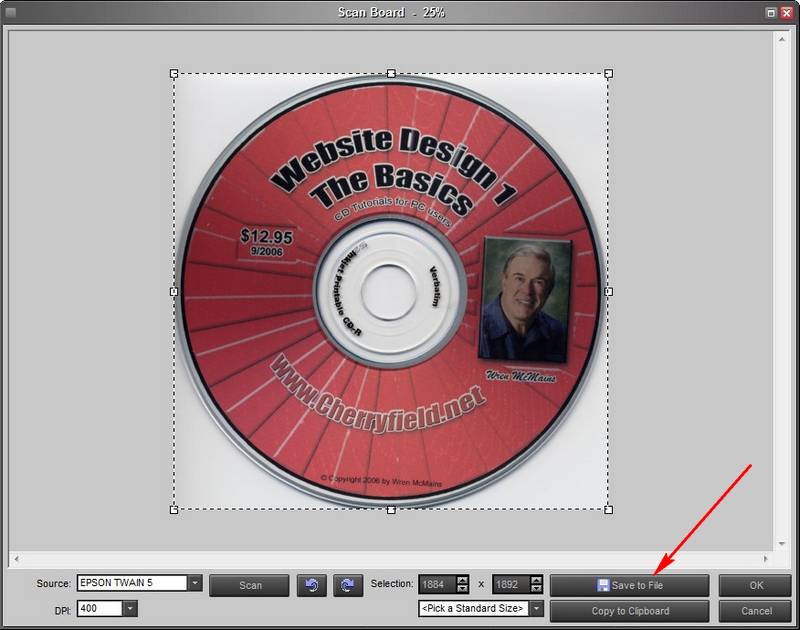
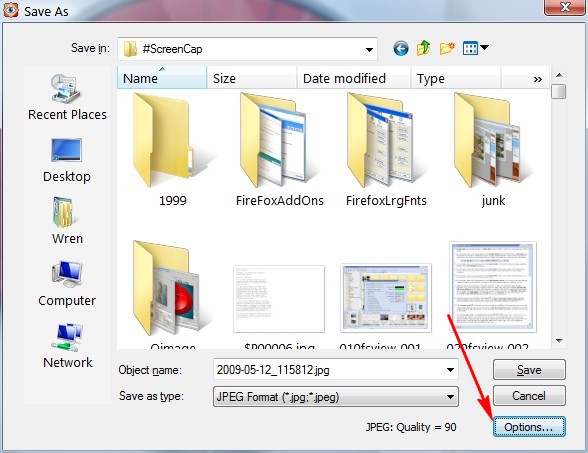
Tip: Be sure to click on the "Save to File" button, otherwise your scan will be lost. Once you do, it will ask you where you want to save it, what you want to name it, and the format you want to save it in. As you see, the name defaults to the date and time you made the scan:
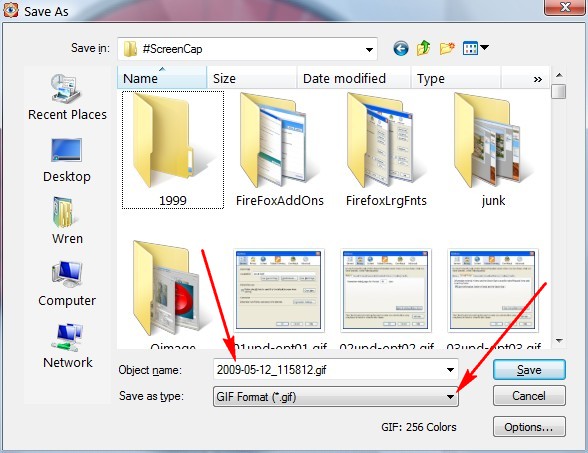
The file format probably defaults to whatever you used last. I only use GIF if I'm saving a scan made in line-art mode (black and white, 2 bits per pixel). Normally I recommend JPG:
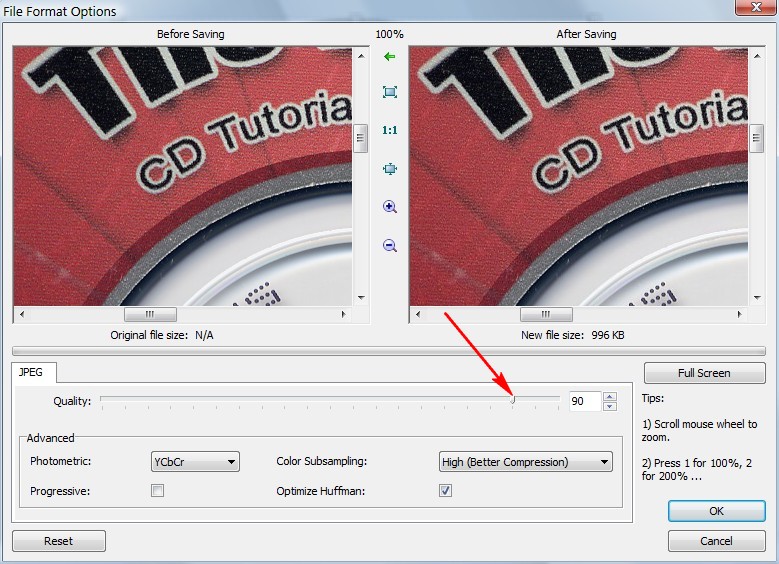
By clicking on Options your can adjust the Quality (in this case I recommend 90). As you adjust the Quality slider FastStone shows you on the right (After Saving) what the image would look like compressed that much:
One last tip. After you've saved the scan you'll still see the same dialog box. At this point, if you want to scan another image, put it in your scanner and press the Scan button again:

This will save you lots of time, it will take you directly to a preview of the next scan.
Suggested next choices:
ImagingTips.com Site Map
![]()
[an error occurred while processing this directive]