|
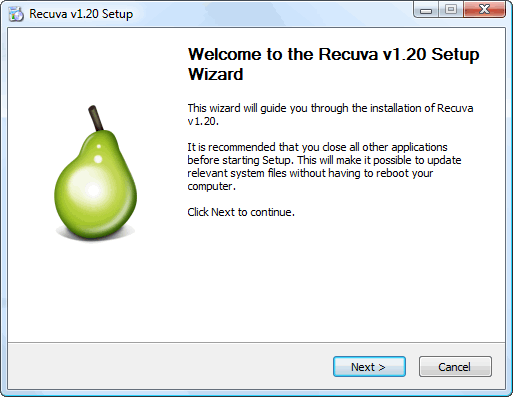
Recuva (must be the way they say "recover" in Boston, or downeast Maine) is a great little program that can not only recover images from your camera card after you've deleted them, but can also recover files you've deleted from your hard-drive ... even after you empty the recycle bin. It's one of three FREE tools from Piriform, a UK company gives away their software, relying on donations for support. You can download a copy from www.Recuva.com. It's a little over 2MB, so should only take a few minutes to download on a dial-up line. As you start installing it, you'll see:
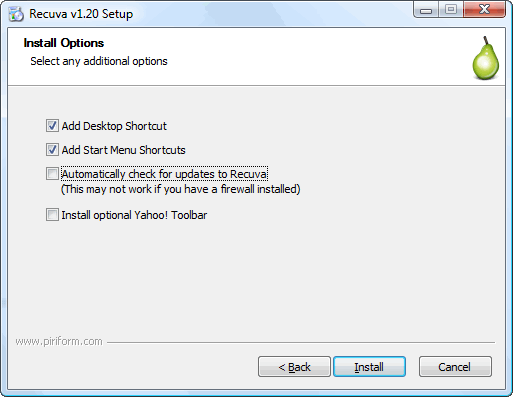
As you continue clicking "Next" it will ask you to agree to the terms of their license, give you a choice of where to install it (most will just put it in the default location under "Program Files"), and finally give you some install options:
By default, all the boxes above are checked. There's probably nothing wrong with checking for updates, but I certainly didn't also want a Yahoo! toobar. I recommend AGAINST cluttering your desktop with icons, I just let it put one there to remind myself to drag it to my "Tools" menu. Once you've choosen your options and clicked "Install" it will complete the install and you'll get:
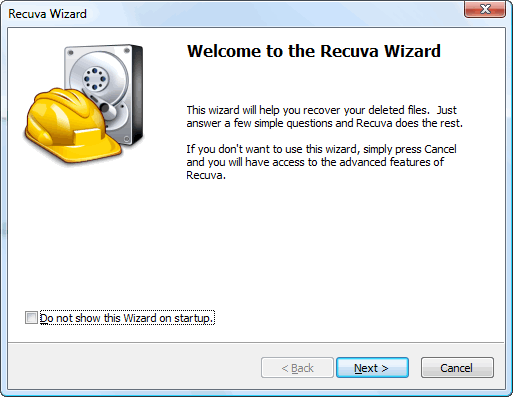
I notice all the Piriform tools seem to create folders under your individual "Start Menu" (the one you get to by right clicking on the Start button and choosing "Explore"). You might want to move these to the "All Users Start Menu" (the one you get to if you choose "Explore All Users"). When you run Recuva, by default it starts a wizard:
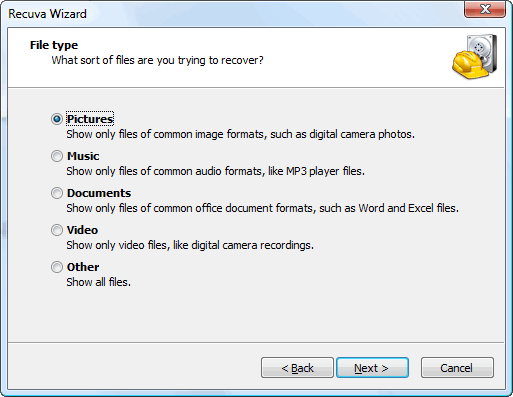
Which first gives you these choices:
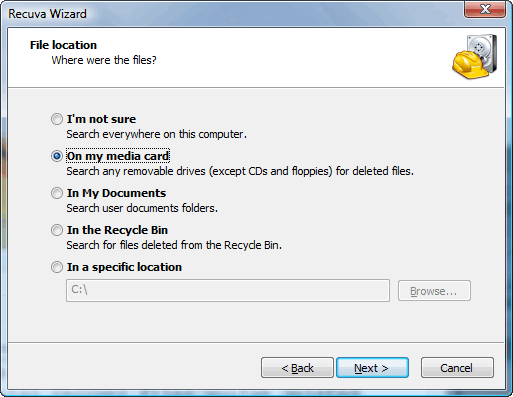
Pick what you want to recover. Then when you click "Next" it will ask you where they WERE located:
Use the "Media Card" option for both camera cards and flash (thumb) drives. For this test I put a compact flash card I had just formatted with my camera into my card reader. Clicking "Next" gave me:
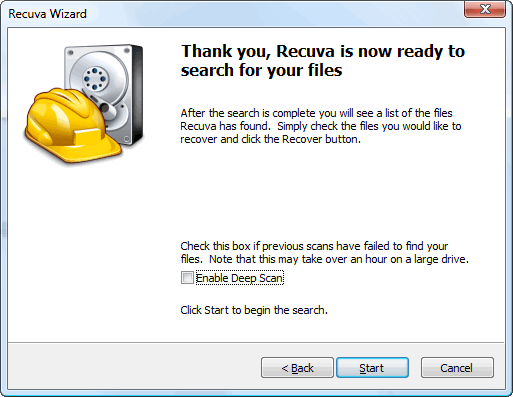
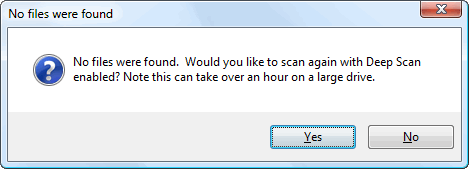
I didn't bother to check the "Enable Deep Scan" box above (since it says use it if a quick scan doesn't find what you're looking for). The scan was almost instant, but I got:
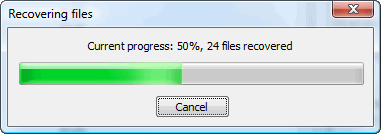
I pressed "Yes" and off it went again, this time for almost 10 minutes (because it was an 8GB CF card ... would hate to think how long a Deep Scan would take on one of my terabyte drives):
But what was neat, was when it finished I got: |
Sponsored Advertisements:
Sponsored Advertisements: Sponsored Advertisements: |
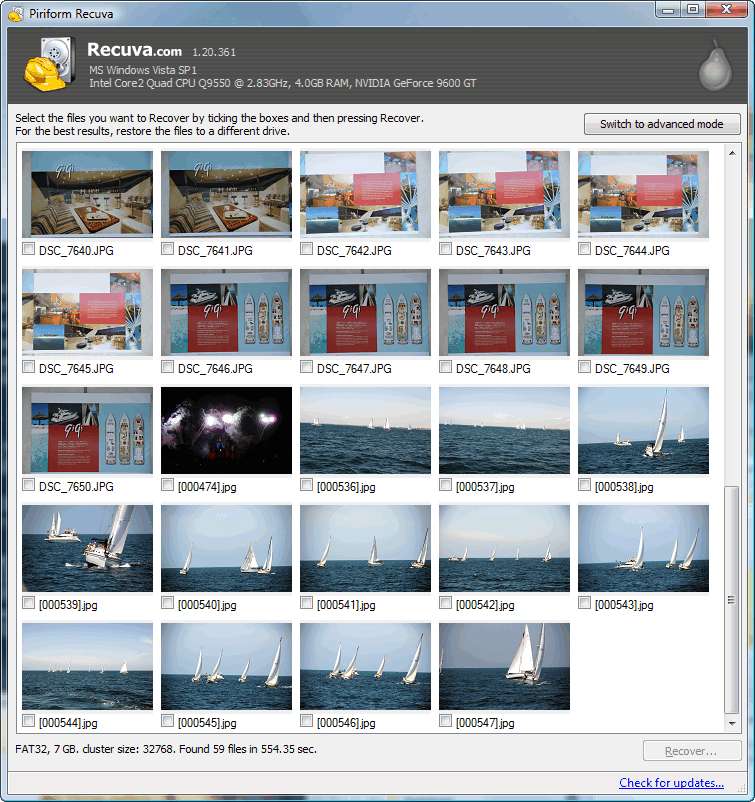
As you can see, because I asked to recover pictures, it showed me thumbnails of the ones it found. What was amazing is that it not only found pictures that I had just deleted, but the sailboat pictures at the end were taken over six months ago ... I know the card was formatted many times in between ... they must just have been at the end of the card and were never written over. I'm really confused about the one showing fireworks in the middle ... once I recovered all the files and looked at the full-size image I saw it was taken over a year ago, but was shot in RAW so it should have been an NEF file. Come to think of it, the sailboats should also have been NEF files. Maybe I'll try another experiment in a few minutes.
Warning: If you shoot RAW, as I recommend. Do not choose the "Pictures" option, choose "All files" instead, see below.
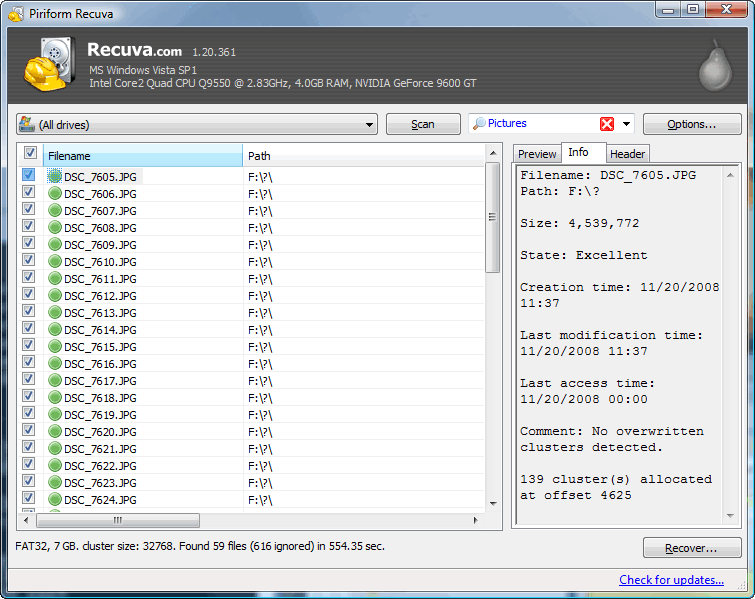
First let's look at how you recover files you do find. You can either check the little boxes above (under the images you want to recover). Or you can click on the "Switch to advanced mode" button which give you:
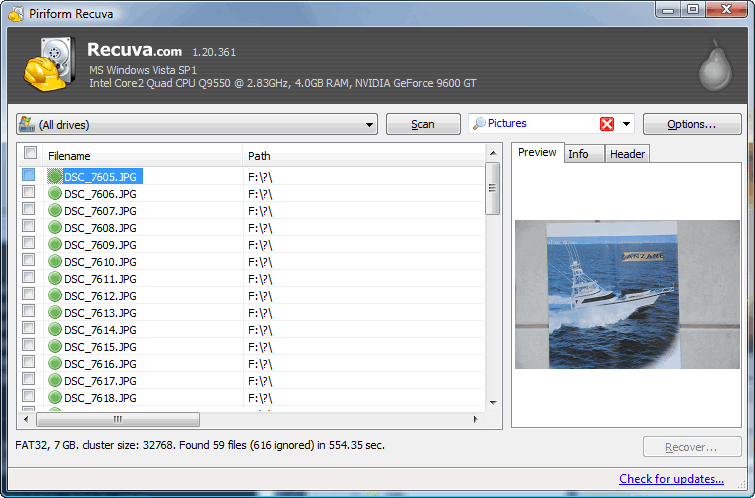
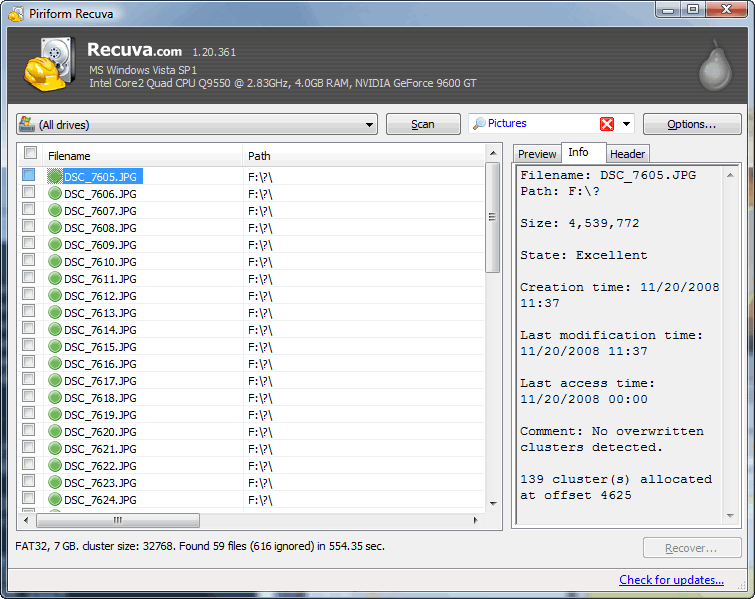
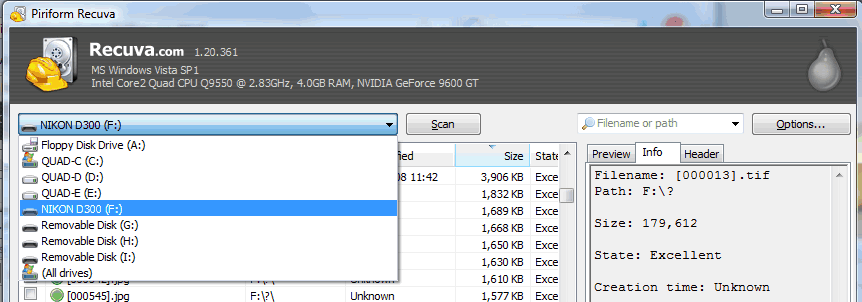
Files with green dots can be recovered completely. (With orange or red dots recovery will not be complete.) By clicking on the "Info" tab you'll see more details about the file.
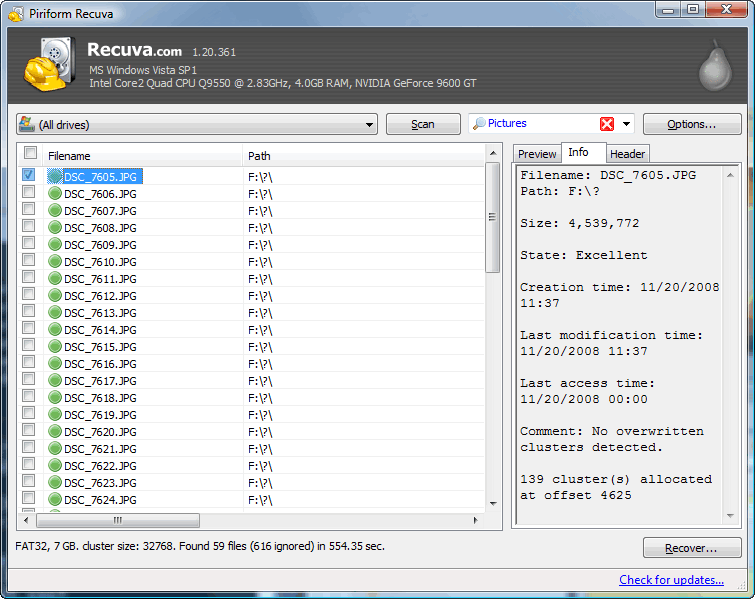
You can select individual files (by checking their boxes) at which point the "Recover ..." button is no longer grayed out:
If you want to recover ALL the files, click on the box at the top, next to where it says "Filename":
Once you click "Recover...", you'll get this dialog asking where you want to put the recovered files:
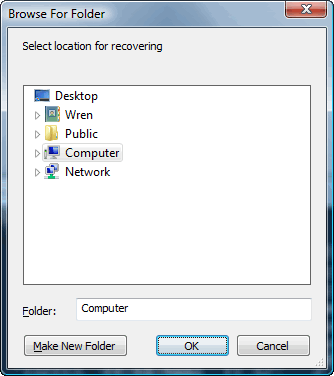
Navigate to where you want to place them. Highlight that folder, then I recommend clicking the "Make New Folder" button to create a sub-folder for the recovered images:
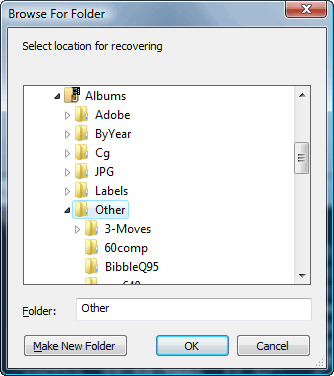
As always, when you choose "New Folder" it creates one with that name, but it's highlighted so you can type a new name which will replace the highlighted name. I named the folder "Recovered":
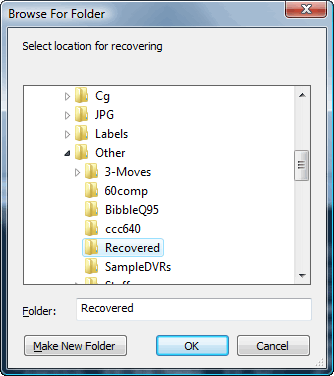
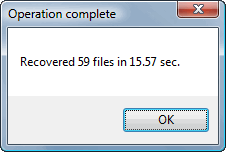
I then click "OK" and the recovery started:
It was quick, it only took a few seconds to recover the 59 files:
Once I looked at the recovered files, I recognized one of the images as being taken a year ago. I went back and looked at the original files from that shoot and saw that they were all RAW files. Then I realized sailboats were also shot in RAW. I'm not sure where these JPG images came from ... it's possible I converted them and then later used this CF card to transfer the JPGs, much like one would use a flash drive.
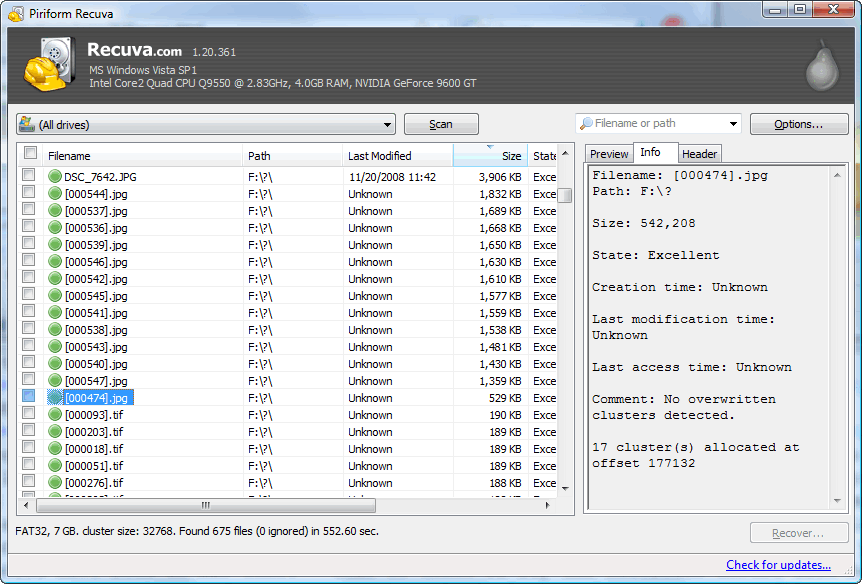
All this got me wondering why I didn't see any NEF files on this card, since that's what I shoot 95% of the time (although the most recient images it recovered where shot as JPGs). I started Recova again, but this time instead of looking for "Pictures" I choose the "Other" option and again choose "Enable Deep Scan". After another 10 minutes, this time it reported finding 675 files:
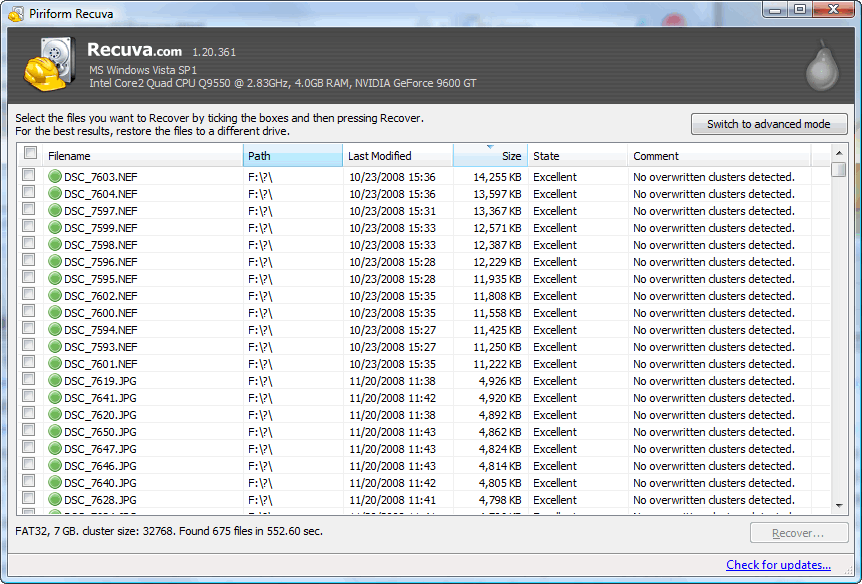
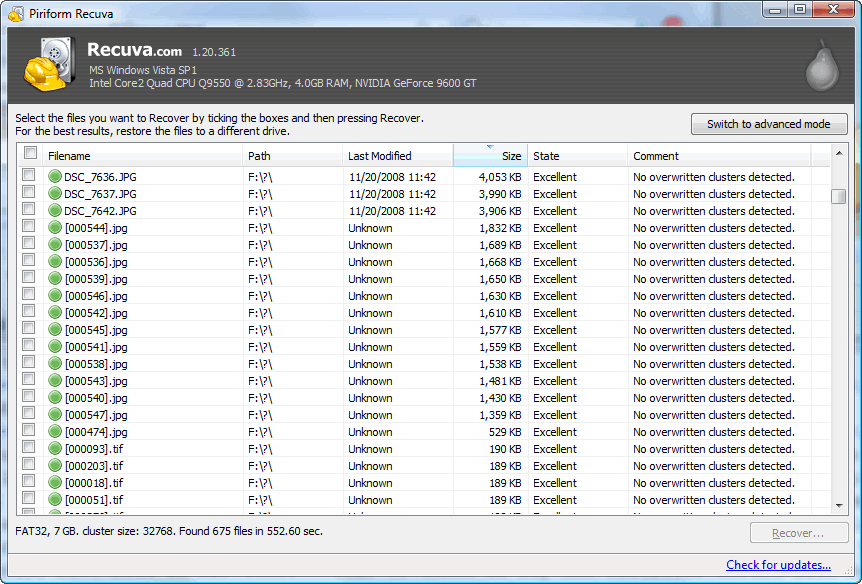
It seemed to sort by size (by clicking on a column header, you can sort by whatever you want). As you see above, there were some NEF files, then the JPG files from the shoot just before formatting the card. Below that you see some un-named JPG files to which it has just assigned numbers (these were not the original numbers):
I could highlight one of these file and click on the Info tab to see more information, but as you see much of the original data about the file has been lost. Most of the rest of the 675 files found on the card are small TIF files, which are actually thumbnails saved along with the original NEF RAW files.
Just as we saw above, you can recover any of these files by checking the boxes next to them (or all of them) and then pressing "Recover...".
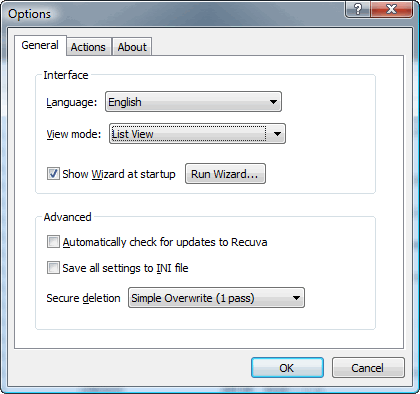
While we're here, I'll show you some of the options you can set (by clicking on the "Options" button):
The view modes include "List" which we saw just above, "Thumbnails" which we saw when we asked to recover "Pictures" and a "Tree" mode:

The program seems to support various deletion modes which can permanently wipe out files on the drive and/or media card:
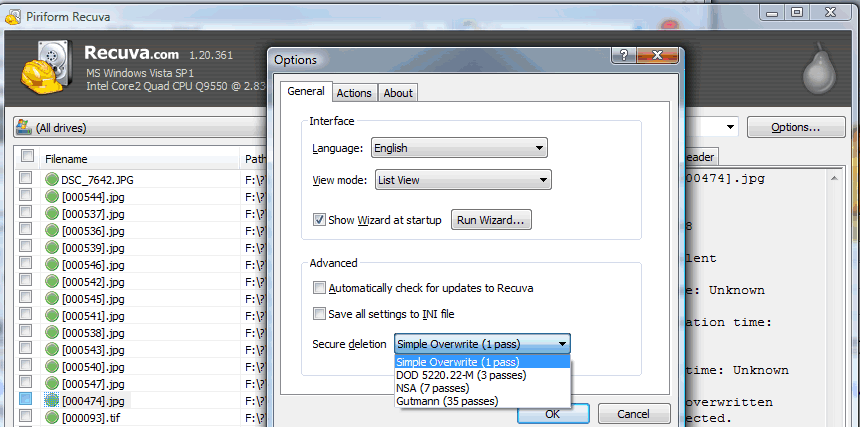
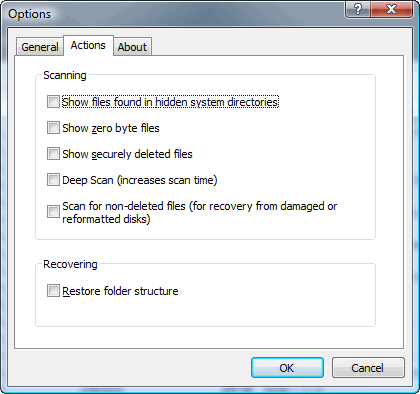
However, I'm not exactly sure how you wipe out the files ... I'll report back when I figure it out. The "Actions" tab has these options:
And finally, you'll see that there are two pull-downs you can access in the Advanced mode. This one which allows you to pick the drive:
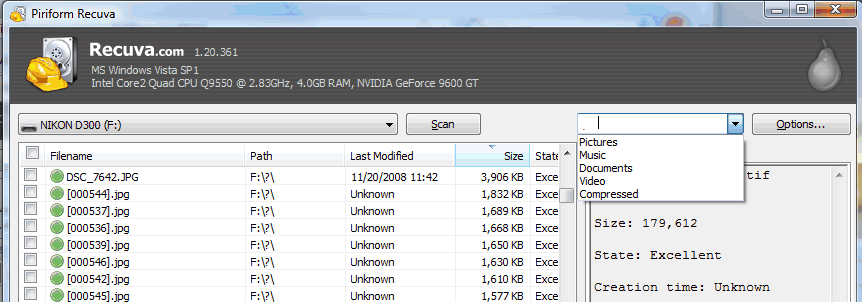
And this one which allows you to specify what you're looking for:
All-in-all I think this is a great little program to have available when you accidently delete something (and we all do). The price is right!
Suggested next choices: