I started writing this in 2008, but never finished it so it never got posted. (It's still not finished, but it's getting closer.)
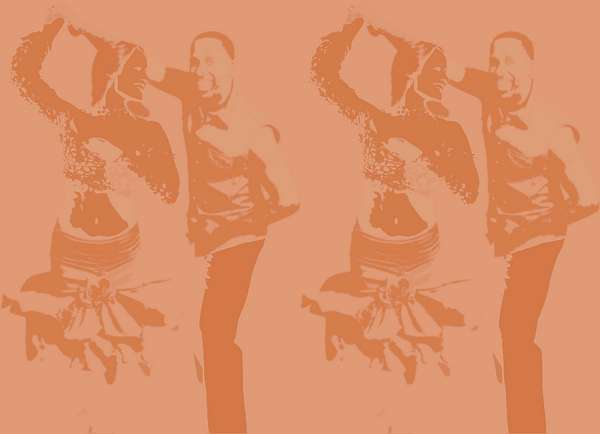
My daughter likes to use backgrounds in Powerpoint presentations and on websites with images related to the subject. Background images need to be subtle and not detract from the presentation. A single image can be tiled to form a background like this one:
|
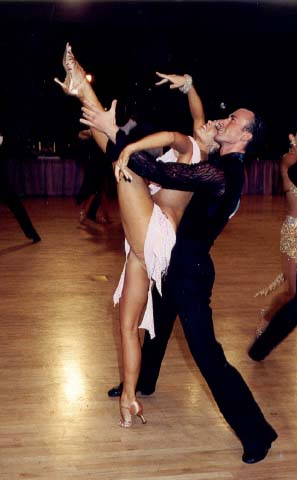
You can see how it works as a background by looking at various pages on her website: www.dance-addiction.com, it started out as this picture of her and a partner dancing:
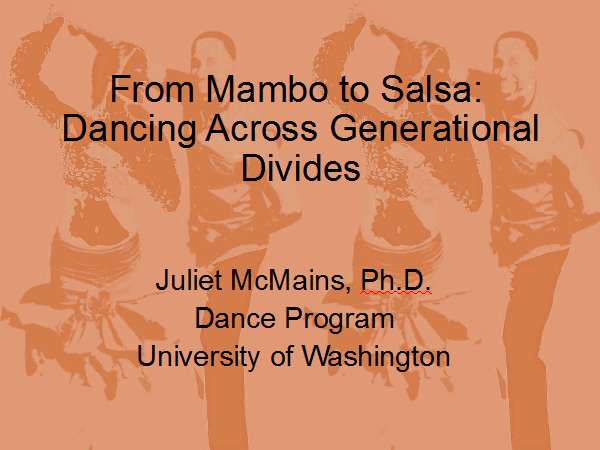
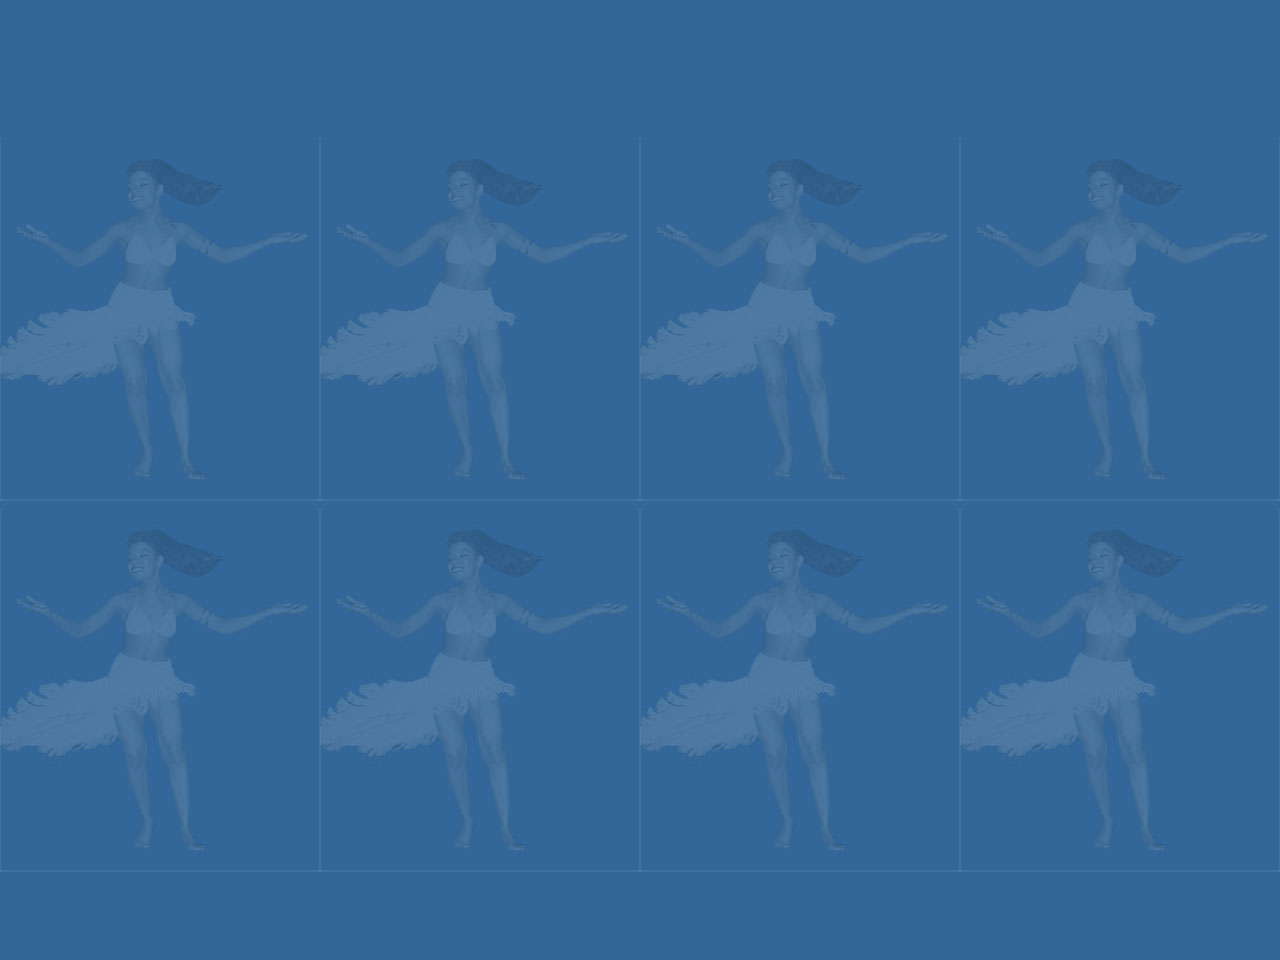
Tiling works well for website backgrounds, because the tiling happens automatically and allows the background to expand to any size. For Powerpoint presentations, I've had better luck creating a single background image with a 4 x 3 aspect ratio, here's one example:
It started as this image:
Here's what it looks like as a background in a Powerpoint presentation:
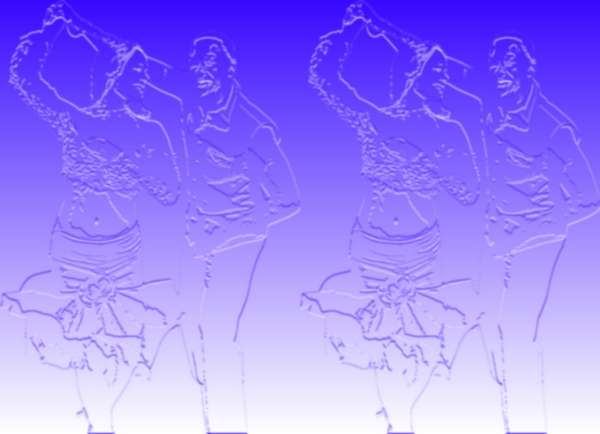
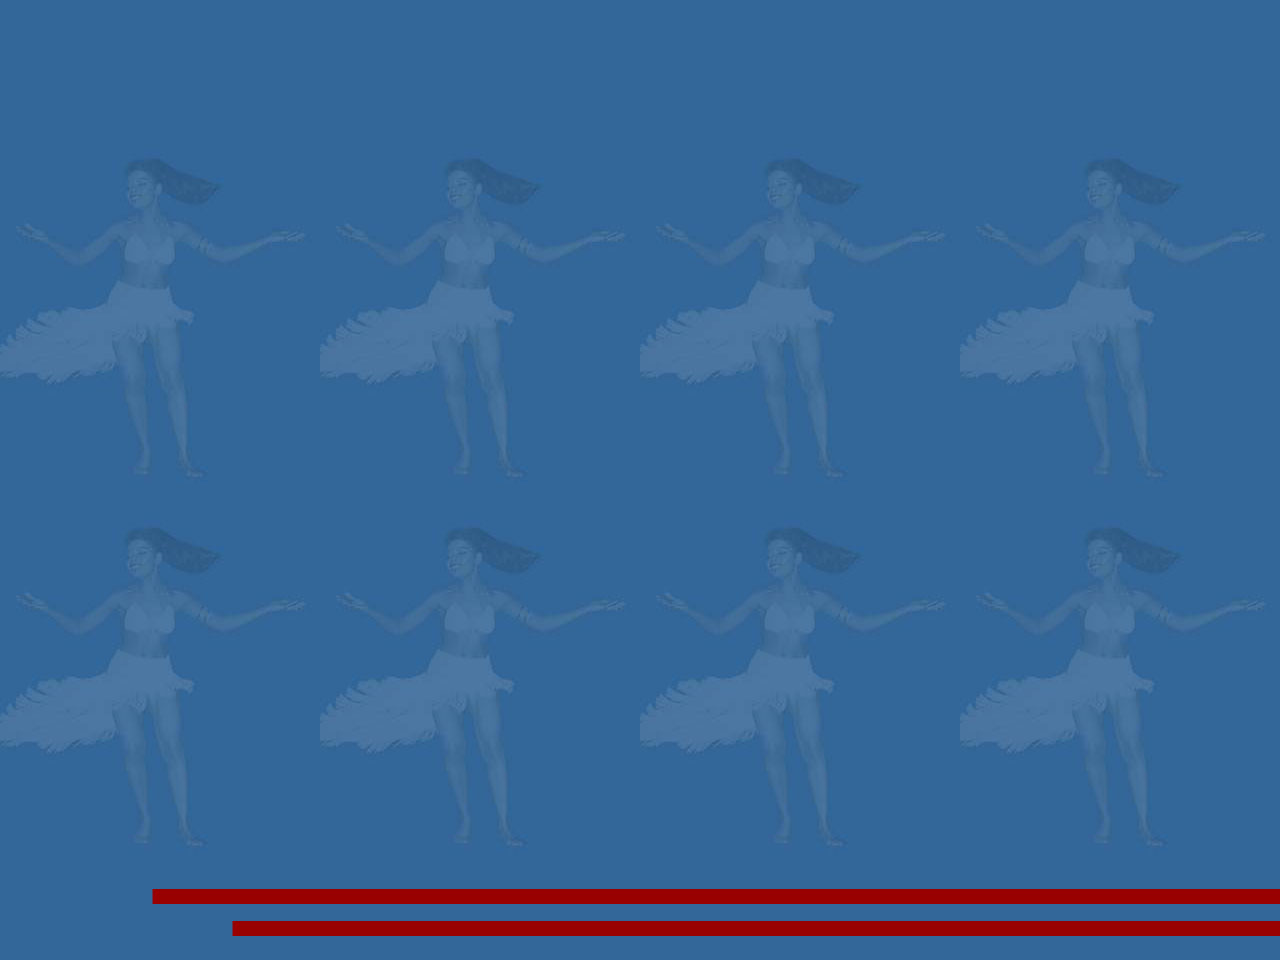
Here's another variation, using the same image:
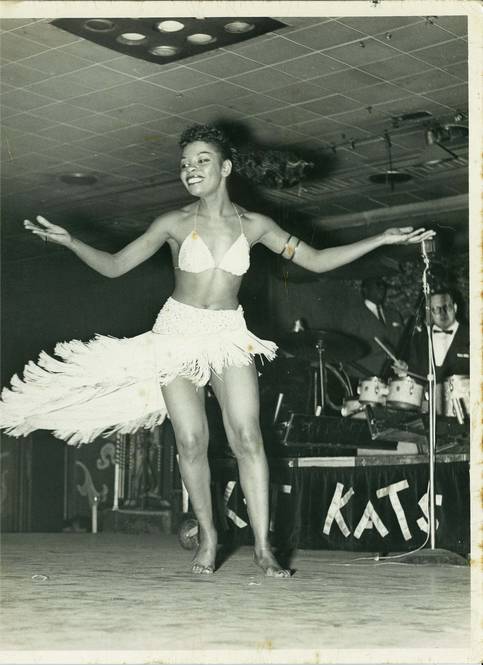
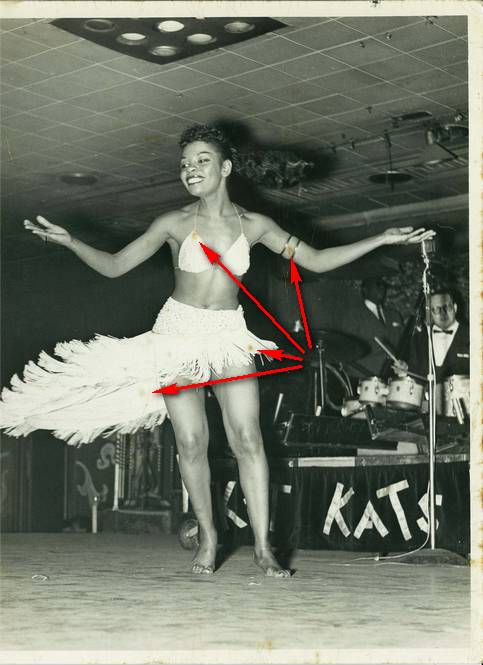
After making a few for her, she asked how to make them herself. Depending on the original image, I use different techniques, but here's one. She wanted to use this old image which she must have scanned (it was 4350x6300 pixels):
Initially I worked at this resolution, just so I would have the high-resolution version in case she wanted to use some version of the modified image it in a book she is writting. I always start by making a duplicate layer (Cntl-J), just so I can always keep the the original as hidden layer in PSD file. This is especially important in a case like this where I'm going to erase part of the image ... I might later find I've erased something I didn't mean to ... the hidden layer will still be in perfect registration with the modified version, even after cropping the image. The layers pallet, before the Cntl-J:
After Layer / Duplicate Layer (Cntl-J), I then double-click on the word "Background" (above) and get this dialog box:
Just press Enter. This renames the Background layer "Layer 0" ... there are limitations on what you can do when you have a "Background" layer, this avoids potential problems later. I then hide "Layer 0" by clicking on it's little eyeball in the layer pallet. The pallet now looks like this:
It looks like image had deteriated before she scanned it so the first thing I did was use the "Spot Healing Brush" tool to remove some of the worst spots. When the Spot Healing Brush doesn't work because you're too close to an abrpt color change, try the Clone Stamp ... I use an Opacity of 40-80% ... apply more than once if necessary ... this helps keep some of the original texture. (Because the final image will be small and faint, I probably didn't have to do any retouching, but at high-resolution the spots really stood out when viewed at 100%, so I got rid of the worst ones.)
Obviously if I really wanted to print this image I would have been much more careful about the restoration. The background of this image is far too cluttered for our purposes, so after I finished the restoration I used the "Quick Selection" tool to select the dancer. The dancer's dark hair and the shadows created by the flash made this difficult. In this case I was careful to err on the side of selecting too much so I didn't miss anything. Once I was happy with the selection I did another Cntl-J which copied just the selection. The layer pallet now looked like this:
Next I hid "Layer 1" (original image after retouching) and used a layer mask or an eraser to remove anything I didn't really mean to select (using a layer mask is always better than using an eraser because it is easier to correct mistakes after the fact) ... obviously you could also use selection tools or any other tools which would help you clean up the edges of the original selection. Be sure to zoom in to 3-400%, and then work your way around the original selection. Zooming in makes it much easier see exactly what you're doing.
To be continued ... |
Sponsored Advertisements:
Sponsored Advertisements: Sponsored Advertisements: Sponsored Advertisements: Sponsored Advertisements: |
Suggested next choices:
Photoshop Bridge FastStone Qimage OtherTips Resources
[an error occurred while processing this directive]